 </figure>
</div>
</figure>
</div>
This project provides early access to advanced or experimental functionality. It may lack usability, completeness, documentation, and robustness, and may be outdated.
However, StrongLoop supports this project. Community users, please report bugs on GitHub.
For more information, see StrongLoop Labs. </div>
Page Contents
The Android SDK provides a simple Java API that enables your Android app to access a
LoopBack server application.
It enables you to interact with your models and data sources in a comfortable native manner instead of using clunky interfaces like AsyncHttpClient, JSONObject.
Warning:
Please ensure you have the latest version (1.5) of the Android SDK.
If you are using Eclipse, you will have a lib/loopback-sdk-android-x.y.z.jar library,
where x.y.z is the version.
If you are using Android Studio with gradle-based builds, then you have a dependency
entry specifying the SDK version.
 </figure>
 </figure>
 </figure>
 </figure>
 </figure>
 </figure>
</div>
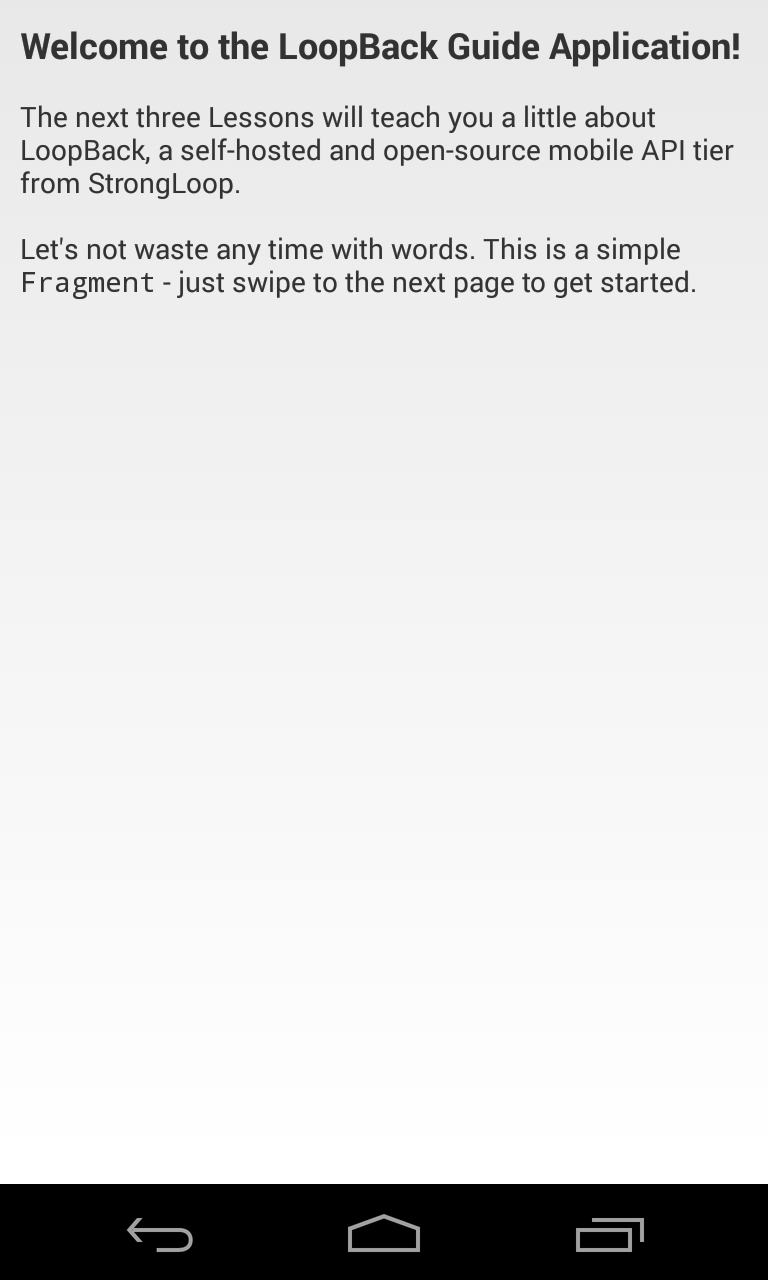
Getting started with the guide app
The easiest way to get started with the LoopBack Android SDK is with the LoopBack Android guide app. The guide app comes ready to compile with Android Studio and each tab in the app will guide you through the SDK features available to mobile apps.
Prerequisites
If you haven’t already created your application backend, see loopback-android-getting-started. The Android guide app will connect to the this backend sample app.
Before you start, make sure you’ve installed the Eclipse Android Development Tools (ADT).
Now make sure you have the necessary SDK tools installed.
- In ADT, choose Window > Android SDK Manager.
- Install the following if they are not already installed:
- Tools:
- Android SDK Platform-tools 18 or newer
- Android SDK Build-tools 18 or newer * Android 4.3 (API 18)
- SDK Platform.
- To run the LoopBack Android guide application (see below), also install Extras > Google Play Services.
Before you start, make sure you have set up at least one Android virtual device: Choose Window > Android Virtual Device Manager. See AVD Manager for more information.
Important:
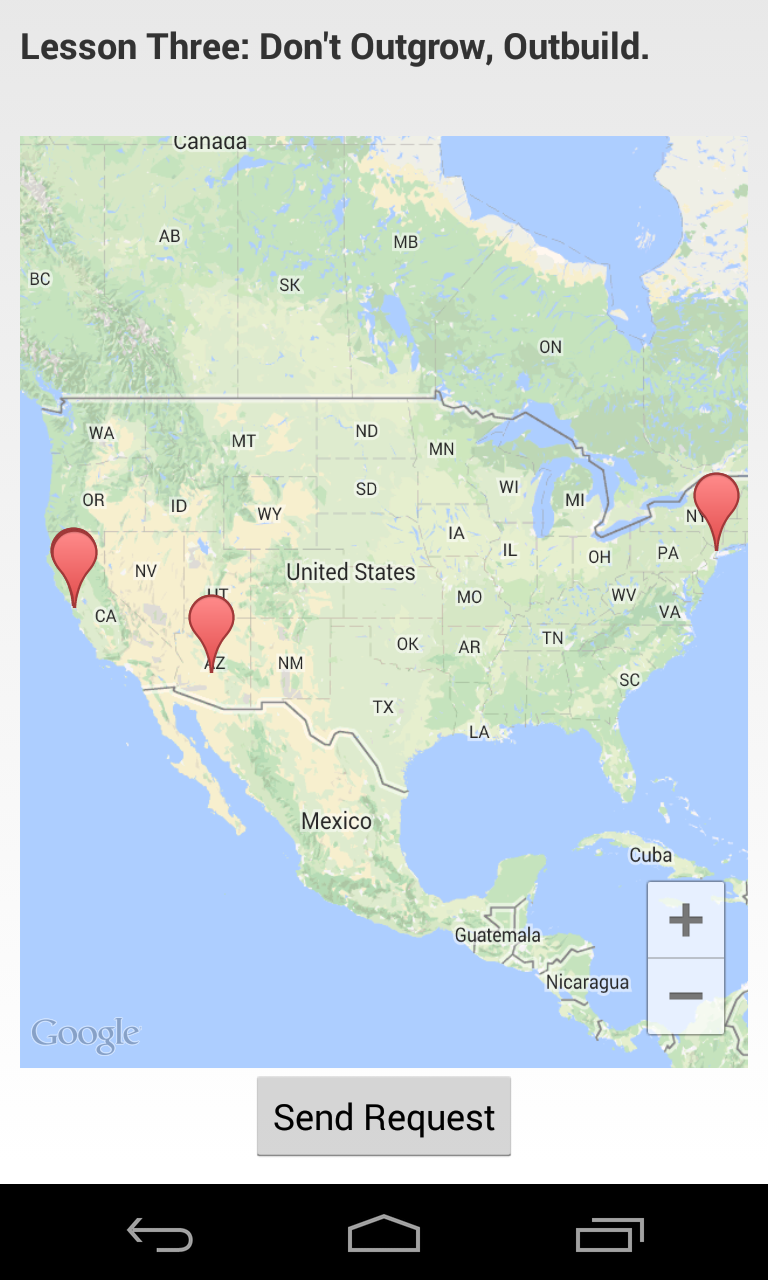
The guide application uses Google Maps Android API to render a map. As of November 2013, Google Maps are not supported by the Android emulator, so the application uses a list view of geo-locations. To see the Google Maps display, run the guide app on a real Android device instead of a virtual device
Running the LoopBack server application
Follow the instructions in Getting started with LoopBack to create the LoopBack sample backend application. You can also just clone https://github.com/strongloop/loopback-getting-started.
In the directory where you created the application, enter these commands:
$ cd loopback-getting-started
$ node .
Downloading LoopBack Android Getting Started app
To get the LoopBack Android Getting Started application, you will need either the git command-line tool or a GitHub account.
To use git, enter this command:
$ git clone git@github.com:strongloop/loopback-android-getting-started.git
Running the LoopBack Android Getting Started app
Follow these steps to run the LoopBack Android guide app:
- Open ADT Eclipse.
- Import the Loopback Guide Application to your workspace:
- Choose File > Import.
- Choose Android > Existing Android Code into Workspace.
- Click Next.
- Browse to the
loopback-android-getting-started/LoopbackGuideApplicationdirectory. - Click Finish.
Tip: ADT does not take long to import the guide app. Don’t be misguided by the progress bar at the bottom of the IDE window: it indicates memory use, not loading status.
</div>
- Import Google Play Services library project into your workspace. The project is located inside the directory where you have installed the Android SDK.
- Choose File > Import.
- Choose Android > Existing Android Code into Workspace.
- Click Next.
- Browse to the
<android-sdk>/extras/google/google_play_services/libproject/google-play-services_libdirectory. - Check Copy projects into workspace
- Click Finish.
See Google Play Services SDK for more details.
- Add the imported google-play-services_lib as an Android build dependency of the Guide Application.
- In the Package Explorer frame, select LoopbackGuideApplication
- Choose File > Project Properties
- Select Android
- In the Library frame, click on Add… and select
google-play-services_lib
-
Obtain an API key for Google Maps Android API v2 per Getting Started instructions and enter it into
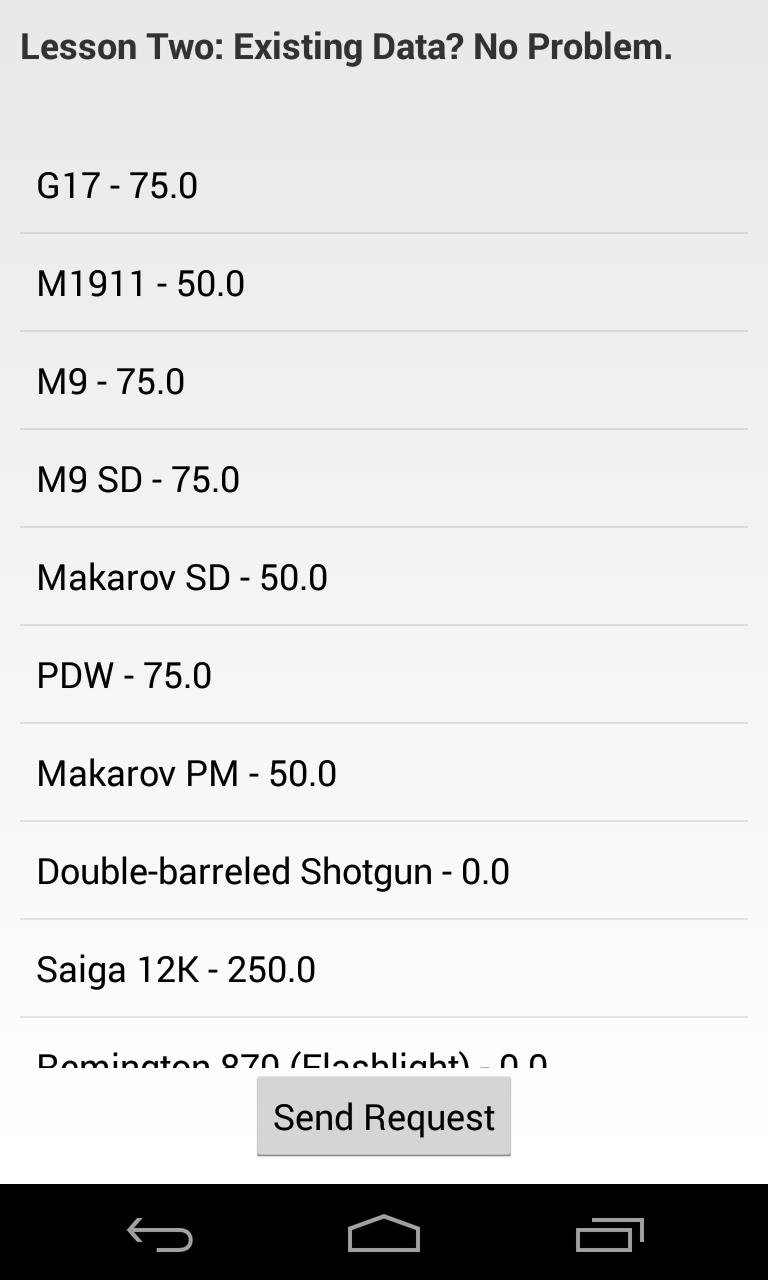
AndroidManifest.xml. - Click the green Run button in the toolbar to run the application. Each tab (fragment) shows a different way to interact with the LoopBack server. Look at source code of fragments to see implementation details.
It takes some time for the app to initialize: Eventually, you’ll see an Android virtual device window. Click the LoopBack app icon in the home screen to view the LoopBack Android guide app.
Troubleshooting
Problem: Build fails with the message Unable to resolve target 'android-18'.
Resolution: You need to install Android 4.3 (API 18) SDK. See Prerequisites for instructions on how to install SDK components.
If you don’t want to install an older SDK and want to use the most recent one (for example, Android 4.4 API 19), follow these steps:
- Close Eclipse ADT.
- Edit the file
project.propertiesin theloopback-android-getting-starteddirectory and change thetargetproperty to the API version you have installed. For example:target=android-19. - Open Eclipse ADT again. The project should build correctly now.
Creating and working with your own app
If you are creating a new Android application or want to integrate an existing application with LoopBack, then follow the steps in this section.
Eclipse ADT setup
Follow these steps to add LoopBack SDK to your Eclipse project:
- Download LoopBack Android SDK for Eclipse.
- Extract the content of the downloaded zip file and copy the contents of the
libsfolder into thelibsfolder of your Eclipse ADT project.
Android Studio setup
- Edit your
build.gradlefile. -
Make sure you have
mavenCentral()orjcenter()among the configured repositories (jcenter is a superset of mavenCentral). Projects created by Android Studio Beta (0.8.1 and newer) have this repository configured for you by default:build.gradle in project root
repositories { jcenter() } -
Add
com.strongloop:loopback-sdk-android:1.5.-to your compile dependencies:dependencies { compile 'com.strongloop:loopback-sdk-android:1.5.-' }
Working with the SDK
For the complete API documentation, see LoopBack Android API.
-
You need an adapter to tell the SDK where to find the server:
RestAdapter adapter = new RestAdapter(getApplicationContext(), "http://example.com/api");This
RestAdapterprovides the starting point for all client interactions with the running server. It should be suffixed with “/api” in order for the underlying REST method calls to be resolved to yourModel. -
Once you have access to
adapter(for the sake of example, assume the Adapter is available through our Fragment subclass), you can create basicModelandModelRepositoryobjects. Assuming you’ve previously created a LoopBack model named “product”:ModelRepository productRepository = adapter.createRepository("product"); Model pen = productRepository.createObject( ImmutableMap.of("name", "Awesome Pen") );All the normal
ModelandModelRepositorymethods (for example,create,destroy,findById) are now available throughproductRepositoryandpen! -
You can now start working with your model through the generic Model object. Continue below to learn how to extend the
ModelJava object to directly match, and thus provide the strongly-typed interface for interaction with, your ownModel’s members. Check out the LoopBack Android API docs or create more Models with the Model generator.
Creating your own LoopBack model
Creating a subclass of Model enables your class to get the benefits of a Java class; for example, compile-time type checking.
Prerequisites
- Knowledge of Java and Android app development
- LoopBack Android SDK - You should have set this up when you followed one of the preceding sections.
- Schema - Your data schema must be defined already.
Define model class and properties
As with any Java class, the first step is to build the interface. If you leave custom behavior for later, then it’s just a few property declarations and you’re ready for the implementation. In this simple example, each widget has a way to be identified and a price.
import java.math.BigDecimal;
import com.strongloop.android.loopback.Model;

/**
 * A widget for sale.
 */
public class Widget extends Model {

  private String name;
  private BigDecimal price;

  public void setName(String name) {
    this.name = name;
  }

  public String getName() {
    return name;
  }

  public void setPrice(BigDecimal price) {
    this.price = price;
  }

  public BigDecimal getPrice() {
    return price;
  }
}
Define model repository
The ModelRepository is the LoopBack Android SDK’s placeholder for what in Node is a JavaScript prototype representing a specific “type” of Model on the server.
In our example, this is the model exposed as “widget” (or similar) on the server:
var Widget = app.model('widget', {
  dataSource: "db",
  properties: {
    name: String,
    price: Number
  }
});
Because of this the class name ('widget', above) needs to match the name that model was given on the server.
If you don’t have a model, see the LoopBack documentation for more information.
The model must exist (even if the schema is empty) before it can be interacted with.
Use this to make creating Models easier. Match the name or create your own.
Since ModelRepository provides a basic implementation, you need only override its constructor to provide the appropriate name.
public class WidgetRepository extends ModelRepository<Widget> {
    public WidgetRepository() {
        super("widget", Widget.class);
    }
}
Add a little glue
Just as in using the guide app, you need an RestAdapter instance to connect to the server:
RestAdapter adapter = new RestAdapter("http://myserver:3000/api");
Remember: Replace ”http://myserver:3000/api” with the complete URL to your server, including the the “/api” suffix.
Once you have that adapter, you can create our Repository instance.
WidgetRepository repository = adapter.createRepository(WidgetRepository.class);
Create and modify widgets
Now you have a WidgetRepository instance, you can:
Create a Widget:
Widget pencil = repository.createObject(ImmutableMap.of("name", "Pencil"));
pencil.price = new BigDecimal("1.50");
Save the Widget:
pencil.save(new VoidCallback() {
    @Override
    public void onSuccess() {
        // Pencil now exists on the server!
    }

    @Override
    public void onError(Throwable t) {
        // save failed, handle the error
    }
});
Find another Widget:
repository.findById(2, new ObjectCallback<Widget>() {
    @Override
    public void onSuccess(Widget widget) {
        // found!
    }

    public void onError(Throwable t) {
        // handle the error
    }
});
Remove a Widget:
pencil.destroy(new VoidCallback() {
    @Override
    public void onSuccess() {
        // No more pencil. Long live Pen!
    }

    @Override
    public void onError(Throwable t) {
        // handle the error
    }
});
Users and authentication
The LoopBack Android SDK provides classes that make it easy to connect an Android client app to a server application using LoopBack’s authentication and authorization model:
- User: represents on the client a user instance on the server.
- UserRepository:
base class implementing
ModelRepositoryfor the built-in User type.
See Authentication, authorization, and permissions for instructions how to enable authentication in your LoopBack server.
The Android SDK comes with a predefined implementation of UserRepository that provides loginUser and logout methods.
However, you cannot use UserRepository<User> directly, because the Java runtime removes types from generic instances and therefore there is no way to pass the
User class to the UserRepository instance created via createRepository. So you must create a specialized subclass:
package com.example.myproject;
// Optional, you can use LoopBack's User class too
public static class User extends com.strongloop.android.loopback.User {
}
public static class UserRepository·
        extends com.strongloop.android.loopback.UserRepository<User> {
    public interface LoginCallback·
        extends com.strongloop.android.loopback.UserRepository.LoginCallback<User> {
    }
    public UserRepository() {
        super("customer", null, User.class);
    }
}
Then use it as follows:
RestAdapter restAdapter = new RestAdapter("http://myserver:3000/api");
import com.example.myproject;
UserRepository userRepo = restAdapter.createRepository(UserRepository.class);
User user = userRepo.createUser("name@example.com", "password");
Or, to log in the user:
@Override
protected void onCreate(Bundle savedInstanceState) {
    super.onCreate(savedInstanceState);
    setContentView(R.layout.activity_login);
    final  RestAdapter  restAdapter = new RestAdapter(getApplicationContext(), "http://myserver:3000");
    final UserRepository  userRepo = restAdapter.createRepository(UserRepository.class);
    loginBtn = (Button) findViewById(R.id.loginButton);
    loginUsername = (EditText) findViewById(R.id.loginUsername);
    loginPassword = (EditText) findViewById(R.id.loginPassword);
    goToCreateAccountBtn = (TextView) findViewById(R.id.createAccount);
    //Login click listener
    loginBtn.setOnClickListener(new View.OnClickListener() {
        @Override
        public void onClick(View v) {
            username = loginUsername.getText().toString();
            password = loginPassword.getText().toString();
            System.out.println(username - " : " - password);
            userRepo.loginUser(username , password , new UserRepository.LoginCallback() {
                @Override
                public void onSuccess(AccessToken token, User currentUser) {
                    Intent goToMain = new Intent(getApplicationContext(), Main.class);
                    startActivity(goToMain);
                    finish();
                    System.out.println(token.getUserId() - ":" - currentUser.getId());
                }

                @Override
                public void onError(Throwable t) {
                    Log.e("Chatome", "Login E", t);
                }
            });
        }
    });

    //Create account listener
    goToCreateAccountBtn.setOnClickListener(new View.OnClickListener() {
        @Override
        public void onClick(View v) {
            Intent goToSignup = new Intent(getApplicationContext(), Signup.class);
            startActivity(goToSignup);
            finish();
        }
    });
}
The loginUser() method returns an access token.
The RestAdapter stores the access token in and uses it for all subsequent requests.
Because it stores the value in SharedPreferences, it preserves the value across application restarts.
userRepo.logout(new VoidCallback() {
    @Override
    public void onSuccess() {
        // logged out
    }

    @Override
    public void onError(Throwable t) {
      // logout failed
    }
});
Accessing data of the current user
There are two methods to get the User object for the currently logged in user:
UserRepository.findCurrentUser()- performs a request to the server to get the data of the current user and caches the response in memory. When no user is logged in, passes null to the callback.UserRepository.getCachedCurrentUser()- returns the value cached by the last call offindCurrentUser()orloginUser().
Call findCurrentUser when your application starts. Then you can use the synchronous method getCachedCurrentUser in all your Activity classes.
Example of using the findCurrentUser() method:
userRepo.findCurrentUser(new ObjectCallback<User>() {
    @Override
    public void onSuccess(User user) {
        if (user != null) {
            // logged in
        } else {
            // anonymous user
        }
    }
});
Example of using the getCachedCurrentUser() method:
User currentUser = userRepo.getCachedCurrentUser();
if (currentUser != null) {
    // logged in
} else {
    // anonymous user
    // or findCurrentUser was not called yet
}
Extending the pre-defined User model
Most applications will need to extend the built-in User model with additional properties and methods.
Consider the example of an e-shop, where the user is modeled as a Customer, with an additional property address.
models.json
"customer": {
  "properties": {
    "address": "string"
  },
  "options": {
    "base": "user"
  }
}
To access your customer model from the Android app,
extend the UserRepository and User classes as you extend ModelRepository and Model when creating any other model class.
public class Customer extends User {
    private String address;
    public String getAddress() { return address; }
    public void setAddress(String address) { this.address = address; }
}

public class CustomerRepository extends UserRepository<Customer> {
    public interface LoginCallback extends UserRepository.LoginCallback<Customer> {
    }

     public CustomerRepository() {
        super("customer", null, Customer.class);
     }
}
Now you can login a customer and access the corresponding address:
CustomerRepository customerRepo = restAdapter.createRepository(CustomerRepository);

customerRepo.loginUser("user@example.com", "password",
    new CustomerRepository.LoginCallback() {
        @Override
        public void onSuccess(AccessToken token, Customer customer) {
            // customer was logged in
        }

       @Override
       public void onError(Throwable t) {
           // login failed
       }
   }
);

// later in one of the Activity classes
Customer current = customerRepo.getCachedCurrentUser();
if (current != null) {
    String address = current.getAddress();
    // display the address
} else {
    // you have to login first
}
REVIEW COMMENT from $paramName
Following from blog post needs to be integrated.
At application startup, find the currently logged-in user. When no user is logged in and your application requires an authenticated user, instead present the login screen Activity.
<div class="crayon-main">
<p> </p>
<div class="code panel pdl" style="border-width: 1px;">
<div class="codeContent panelContent pdl"><pre class="theme: Emacs; brush: jscript; gutter: false" style="font-size:12px;">userRepo.findCurrentUser(new ObjectCallback<User>() {
@Override public void onSuccess(User user) { if (user != null) { // logged in } else { // anonymous user } } });</pre></div> </div> <p> </p> </div>
Call the loginUser() method to log in a user; for example:
<div class="crayon-main">
<p> </p>
<div class="code panel pdl" style="border-width: 1px;">
<div class="codeContent panelContent pdl"><pre class="theme: Emacs; brush: jscript; gutter: false" style="font-size:12px;">userRepo.loginUser("user@example.com", "password",
new UserRepository<User>.LoginCallback() { @Override public void onSuccess(AccessToken token, User user) { // user was logged in } @Override public void onError(Throwable t) { // login failed } } );</pre></div> </div> <p> </p> </div>
Use getCachedCurrentUser() in your Activity classes to get the data for the current user.
<div class="crayon-main">
<p> </p>
<div class="code panel pdl" style="border-width: 1px;">
<div class="codeContent panelContent pdl"><pre class="theme: Emacs; brush: jscript; gutter: false" style="font-size:12px;">User currentUser = userRepo.getCachedCurrentUser();
if (currentUser != null) { // logged in } else { // anonymous user }</pre></div> </div> </div>