Related articles:
LoopBack provides a full-featured solution for authentication and authorization. Follow the steps here to get an overview of how it works with the built-in User model using StrongLoop API Explorer.
First, if you haven’t done so, follow the first steps in Getting started with LoopBack to download the loopback-getting-started application and run it.
Open http://localhost:3000/explorer to view StrongLoop API Explorer. Then:
Create a new user
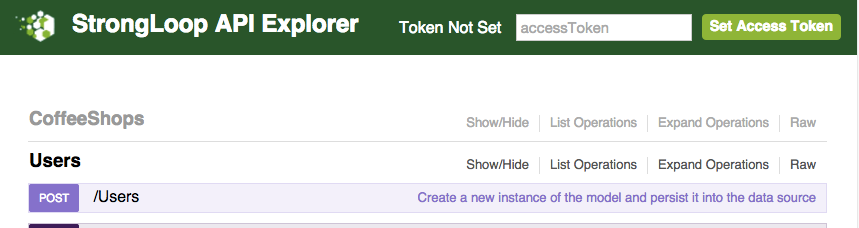
Click on POST /Users to create a new user record:
 </figure>
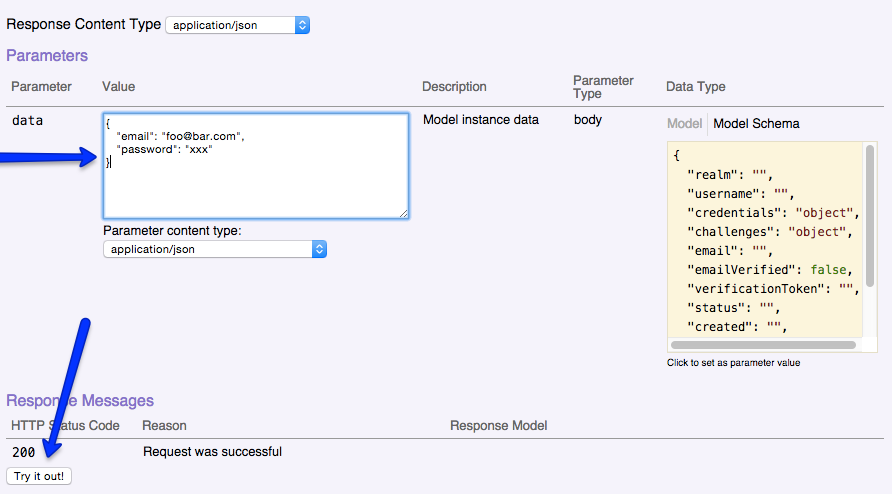
The operation will expand. Under Parameters, click on the data field and enter a JSON object with email and password properties, for example:
{
   "email": "foo@bar.com",
   "password": "xxx"
}
The basic User model validates that email has the standard format of an email address, and the password is not empty.
 </figure>
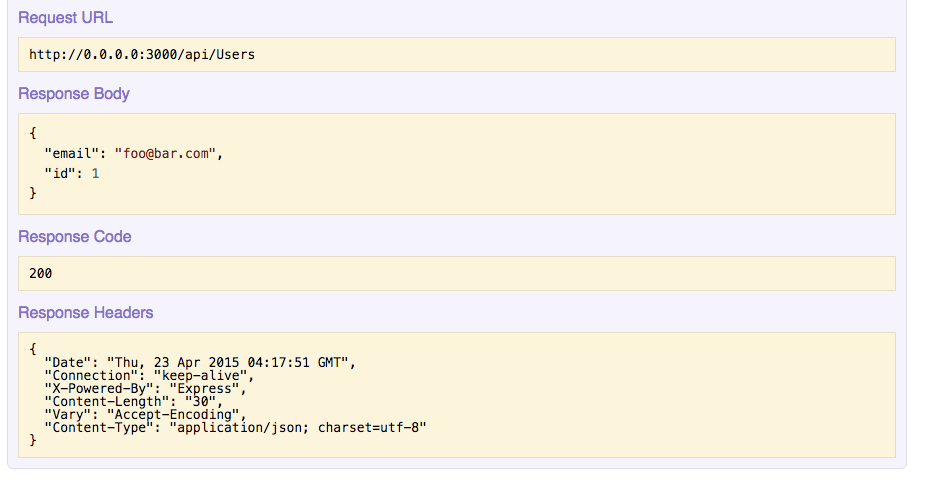
Click Try it Out! to submit the request to the REST API.
You’ll see a 200 Response Code, and the Response Body will show the email address and unique ID of the newly-registered user.
 </figure>
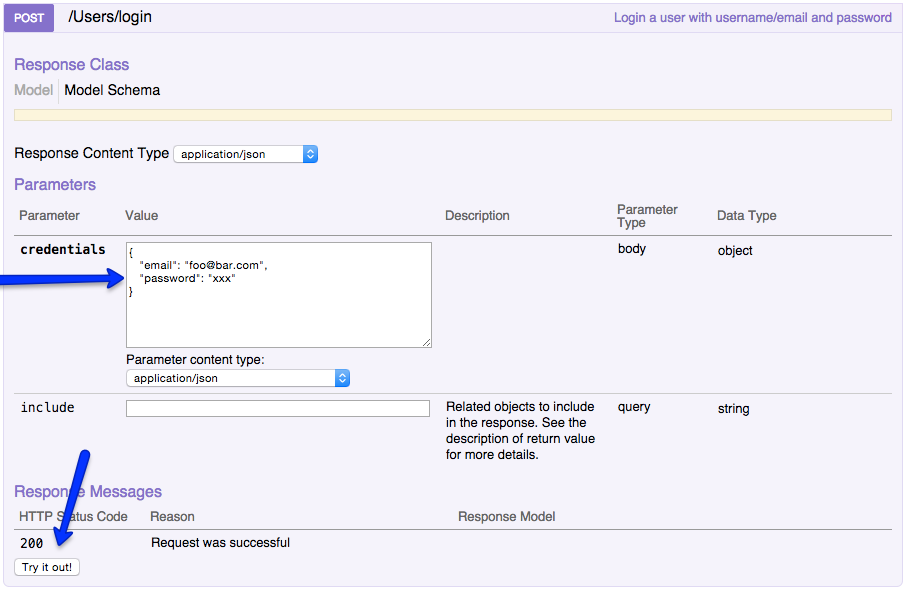
Login as the new user
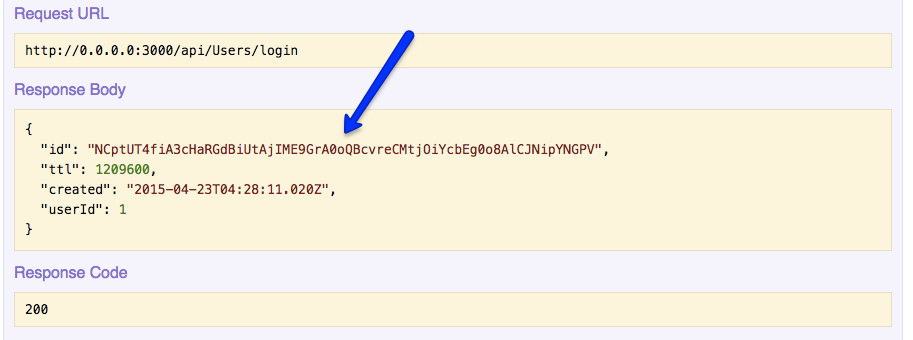
Now click on POST /Users/login to login as this new user. Copy and past the same JSON containing the email and password you entered previously to the credentials field, then click Try it Out!:
 </figure>
Now the response will contain the authorization token for the user:
 </figure>
Set access token
Select and copy the value of the id property in the Response Body and paste it into the accessToken field in the upper right of the API Explorer window:
 </figure>
After you do this, the message will change to Token Set. At this point, the user you created is now logged in and authenticated to the application.
You can now execute certain REST operations; for example, click GET /Users/{id}, enter 1 in the id field, and click Try it Out! to fetch the user model instance data for your own user record:
 </figure>
Certain operations are restricted, even if you are authenticated. For example, you can’t view other users’ records.