 </figure>
</div>
</figure>
</div>
This project provides early access to advanced or experimental functionality. It may lack usability, completeness, documentation, and robustness, and may be outdated.
However, StrongLoop supports this project. Community users, please report bugs on GitHub.
For more information, see StrongLoop Labs. </div>
Page Contents
Overview
The LoopBack iOS SDK eliminates the need to use the clunky NSURLRequest and similar interfaces to interact with a LoopBack-based backend.
Instead, interact with your models and data sources in a comfortable, first-class, native manner.
Prerequisites
- Knowledge of Objective-C and iOS App Development
- Mac OSX with Xcode 4.6 or higher
- For on-device testing, an iOS device with iOS 5 or higher
- A LoopBack-powered server application.
- App schema. Explaining the type of data to store and why it is outside the scope of this guide, being tightly coupled to your application’s needs.
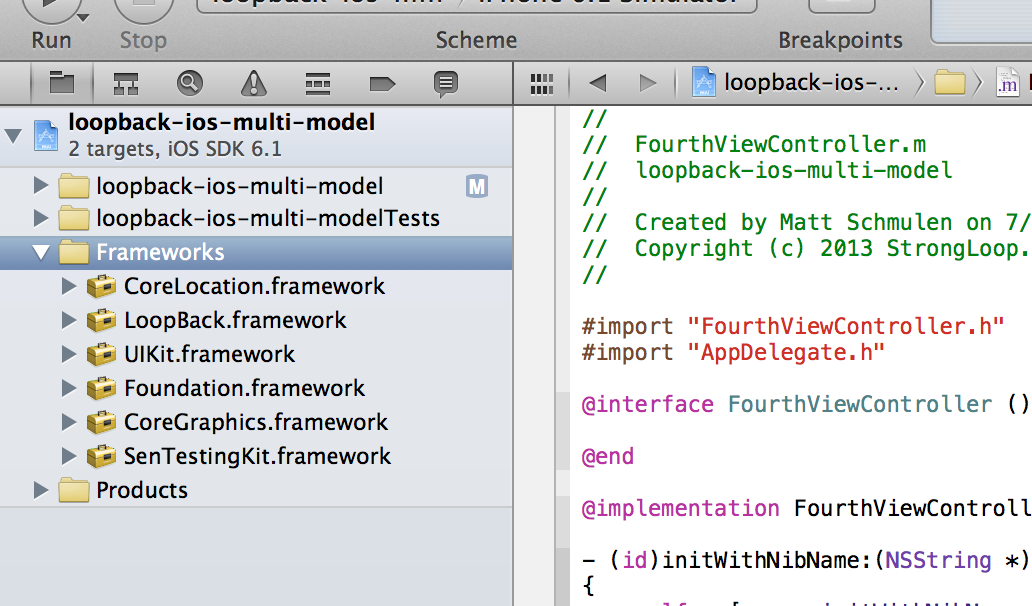
The LoopBack iOS guide app
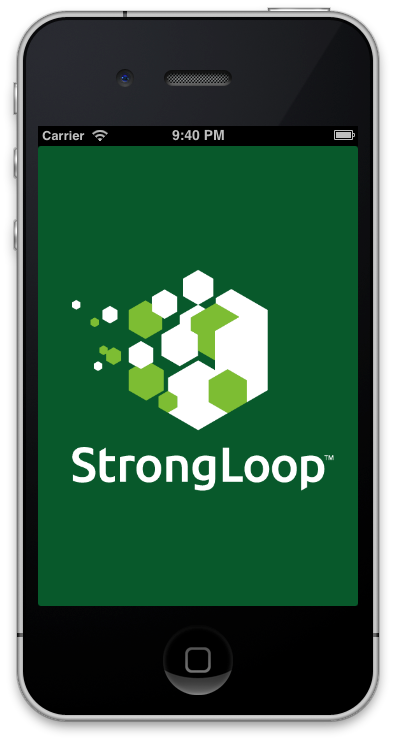
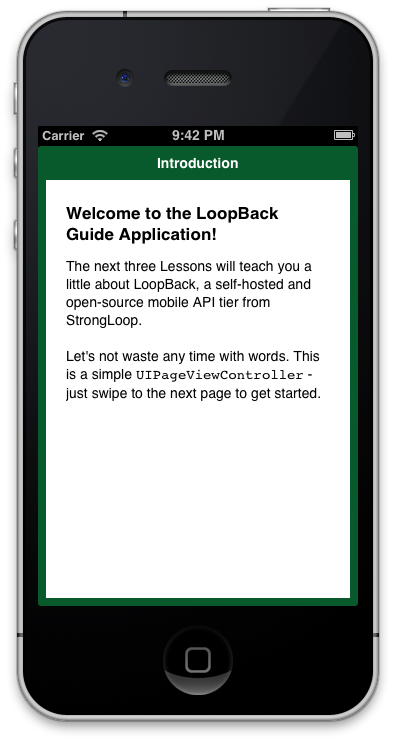
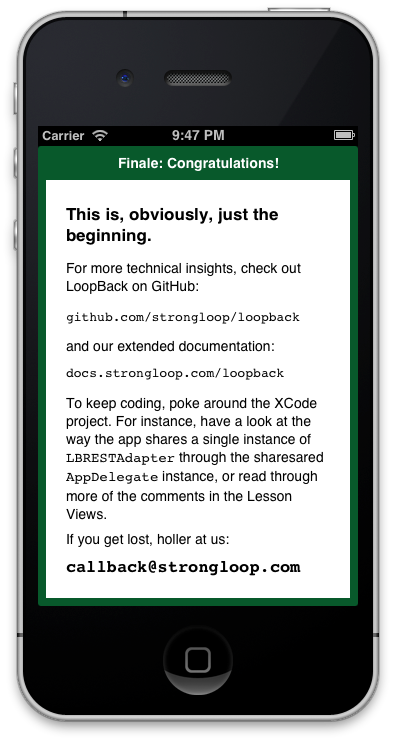
The easiest way to get started with the LoopBack iOS SDK is with the LoopBack iOS guide app. The guide app comes ready to compile with XCode, and each tab in the app guides you through the features available to mobile apps through the SDK. Here are some representative screenshots:
 </figure>
 </figure>
 </figure>
From your usual projects directory:
-
Download the LoopBack guide application to your local machine from GitHub:
$ git clone git@github.com:strongloop/loopback-ios-getting-started.git -
Open the Xcode project downloaded as a part of the Guide Application’s Git repository.
$ cd loopback-ios-getting-started\LoopBackGuideApplication $ open LoopBackGuideApplication.xcodeproj -
Run the application from Xcode (Command-R by default) and follow the instructions on each tab. Popup dialogs in the application will ask you to uncomment various code blocks in each ViewController illustrating how to use the LoopBack SDK to interact with models stored on the server.
Getting Started with the iOS SDK
If you are creating a new iOS application or want to integrate an existing application with LoopBack, use the LoopBack SDK directly (LoopBack.framework), independent of the guide application.
Follow these steps:
-
Open the Xcode project you want to use with LoopBack, or create a new one.
-
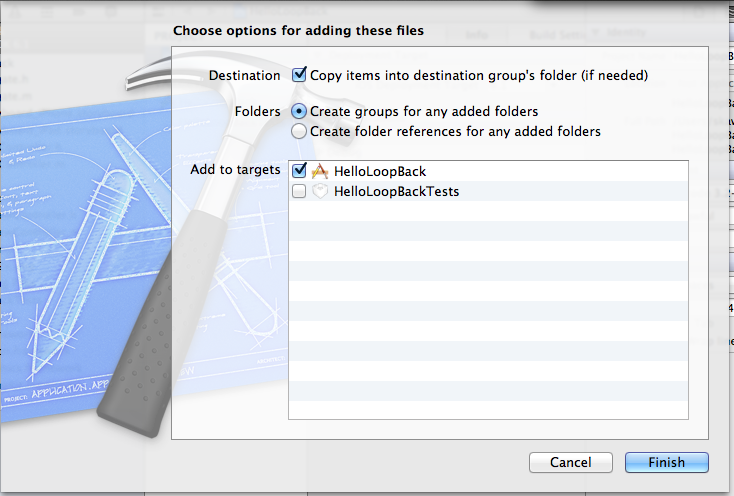
Drag the entire LoopBack.framework folder from the new Finder window into your Xcode project.
 </figure>
Important: Make sure to select “Copy items into destination group’s folder”. This places a copy of the SDK within your application’s project folder.
 </figure>
-
Verify LoopBack is included in the list of iOS Frameworks to link against your binary. In your Project settings, check the ‘Link with Binaries’ section under the ‘Build Phases’ tab. If it’s missing, add it directly by clicking the ‘-‘ button and selecting LoopBack.framework.
Important:
If LoopBack.framework isn’t displayed in the list, try the previous step again; Xcode didn’t create the copy it was supposed to create.
</div>
<figure><img class="docimage" src="/images/9830432.png" alt="" /></figure>
-
Import the LoopBack.h header into your application just as you would Foundation/Foundation.h. Type this line:
#import <LoopBack/LoopBack.h> -
You need an
Adapterto tell the SDK where to find the server. Enter this code:LBRESTAdapter *adapter = [LBRESTAdapter adapterWithURL:[NSURL URLWithString:@"http://example.com"]];This
LBRESTAdapterprovides the starting point for all our interactions with the running and anxiously waiting server.Once we have access to
adapter(for the sake of example, we’ll assume the Adapter is available through our AppDelegate), we can create basicLBModelandLBModelRepositoryobjects. Assuming we’ve previously created a model named “product”:LBRESTAdapter *adapter = [[UIApplication sharedApplication] delegate].adapter; LBModelRepository *productReposiory = [adapter repositoryWithModelName:@"products"]; LBModel *pen = [Product modelWithDictionary:@{ "name": "Awesome Pen" }];All the normal
LBModelandLBModelRepositorymethods (for example,create,destroy, andfindById) are now available throughProductandpen! -
Go forth and develop! Check out the API docs or create more models with the command-line tool.
Creating a sub-class of LBModel
Creating a subclass of LBModel enables you to get the benefits of an Objective-C class (for example, compile-time type checking).
Model interface and properties
As with any Objective-C class, the first step is to build your interface.
If we leave any custom behavior for later, then it’s just a few @property declarations and we’re ready for the implementation.
/** * A widget for sale. */
@interface Widget : LBModel // This is a subclass, after all.

// Being for sale, each widget has a way to be identified and an amount of
// currency to be exchanged for it. Identifying the currency to be exchanged is
// left as an uninteresting exercise for any financial programmers reading this.
@property (nonatomic, copy) NSString *name;
@property (nonatomic) NSNumber *price;

@end
Model implementation
Since we’ve left custom behavior for later, just leave this here.
@implementation Widget
@end
Repository interface
The LBModelRepository is the LoopBack iOS SDK’s placeholder for what in Node is a JavaScript prototype representing a specific “type” of Model on the server.
In our example, this would be the model exposed as “widget” (or similar) on the server:
var Widget = app.model('widget', {
  dataSource: "db",
  properties: {
    name: String,
    price: Number
  }
});
Because of this the repository class name ('widget', above) needs to match the name that model was given on the server.
Warning: If you haven’t created a model yet, see Defining models. The model must exist (even if the schema is empty) before your app can interact with it.
Use this to make creating Models easier. Match the name or create your own.
Since LBModelRepository provides a basic implementation, we only need to override its constructor to provide the appropriate name.
@interface WidgetRepository : LBModelRepository

- (instancetype)repository;

@end
Repository implementation
Remember to use the right name:
@implementation WidgetRepository

- (instancetype)repository {
    return [self repositoryWithClassName:@"widget"];
}

@end
A little glue
Just as you did in Getting started, you’ll need an LBRESTAdapter instance to connect to our server:
LBRESTAdapter *adapter = [LBRESTAdapter adapterWithURL:[NSURL URLWithString:@"http://myserver:3000"]];
Remember: Replace "http://myserver:3000" with the complete URL to your server.
Once you have that adapter, you can create a repository instance.
WidgetRepository *repository = (WidgetRepository *)[adapter repositoryWithModelClass:[WidgetRepository class]];
Using the repository instance
Now that you have a WidgetRepository instance, you can create, save, find, and delete widgets, as illustrated below.
Create a Widget:
Widget *pencil = (Widget *)[repository modelWithDictionary:@{ @"name": @"Pencil", @"price": @1.50 }];
Save a Widget:
[pencil saveWithSuccess:^{
                    // Pencil now exists on the server!
                }
                failure:^(NSError *error) {
                    NSLog("An error occurred: %@", error);
                }];
Find another Widget:
[repository findWithId:@2
              success:^(LBModel *model) {
                  Widget *pen = (Widget *)model;
              }
              failure:^(NSError *error) {
                  NSLog("An error occurred: %@", error);
              }];
Remove a Widget:
[pencil destroyWithSuccess:^{
                       // No more pencil. Long live Pen!
                   }
                   failure:^(NSError *error) {
                       NSLog("An error occurred: %@", error);
                   }];