LoopBack Xamarin SDK example application
This repository contains a mobile app that demonstrates the Loopback Xamarin SDK. It contains:
Serverdirectory: Loopback server application.Clientdirectory: The ToDo client app, created in Xamarin Studio with Xamarin Forms for iOS.
Prerequisites
- Install Xamarin Studio. NOTE: You must get the full Studio (trial) license, not just the “starter” license.
- Install Xamarin Forms
- Install LoopBack
Download
$ git clone https://github.com/strongloop/loopback-example-xamarin.git
Run the server app
You can either run the LoopBack server app yourself, or connect to the demo app running at http://xamarindemo.strongloop.com.
Run your own server app
- Go to server folder:
$ cd server - Install dependencies:
$ npm install - Run the application:
$ node .
Use StrongLoop’s server app
Alternatively, you can run the Xamarin client app against http://xamarindemo.strongloop.com.
Edit LBXamarinSDK.cs and change BASE_URL to http://xamarindemo.strongloop.com/api.
Run the client app
Open the client app solution with Xamarin Studio: loopback-example-xamarin/Client/Todo App/TodoApp.sln.
In Xamarin Studio, build and run the app:
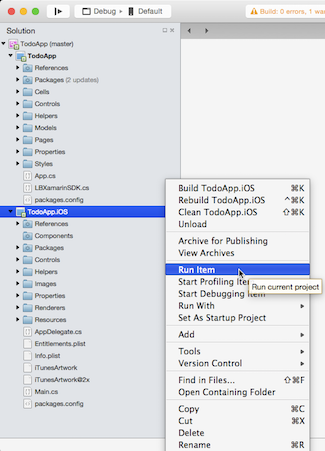
The iOS Simulator will appear running the client app. It may take a moment or two.
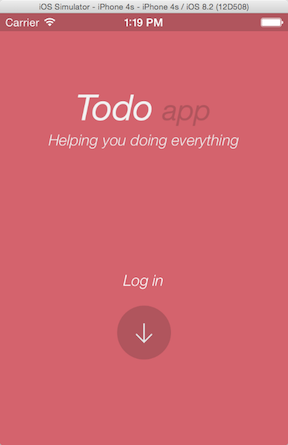
In the iOS Simulator:
- The first time you run the app, click Sign Up:
- Enter an email address and password (they are not validated).
- Click Sign Up
- If you already signed up in this session, click Login with the credentials you entered previously.
- You’ll see the app home page:
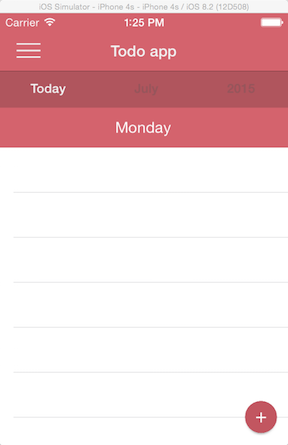
- Enter a “To Do” item:
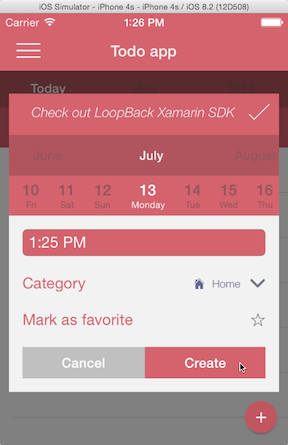
- Click +
- Click **Add a task + **
- Enter a description of the task in the top (red) text field
- Change the date, time, category and mark as a favorite if you wish.
- Click Create to add the item.
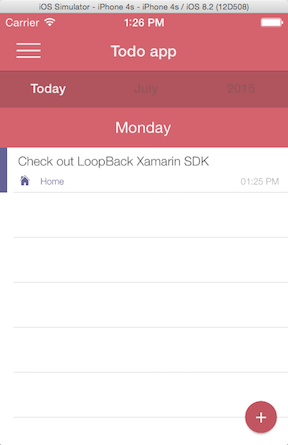
You’ll see the item appear in the “To Do” list.
You can confirm that the data is also added to the LoopBack model using LoopBack API Explorer.