Page Contents
Overview of the application
 </figure>
Coffee Shop Reviews is a website that you can use to post reviews on coffee shops, like Yelp for coffee shops.
The app will persist data to two different datasources: it will store reviewer data in a MySQL database and coffee shop and review data in a MongoDB database.
This application has three models:
- CoffeeShop (defined in Getting started with LoopBack)
- Review
- Reviewer
They are related as follows:
- A CoffeeShop has many reviews
- A CoffeeShop has many reviewers
- A review belongs to a CoffeeShop
- A review belongs to a reviewer
- A reviewer has many reviews
In general, users can create, edit, delete, and read reviews of coffee shops, with the following basic rules and permissions implemented through ACLs:
- Anyone can read reviews, but you must be logged in to create, edit, or delete them.
- Anyone can register as a user; then log in and log out.
- Logged-in users can create new reviews, and edit or delete their own reviews; however they cannot modify the originally chosen CoffeeShop.
Get the repo
First, clone the repository.
$ git clone https://github.com/strongloop/loopback-getting-started-intermediate.git
Run the application
To better understand what’s going on, run the Coffee Shop Reviews application:
$ cd loopback-getting-started-intermediate
$ npm install
...
$ node .
...
Browse your REST API at http://0.0.0.0:3000/explorer
Web server listening at: http://0.0.0.0:3000/
> models created sucessfully
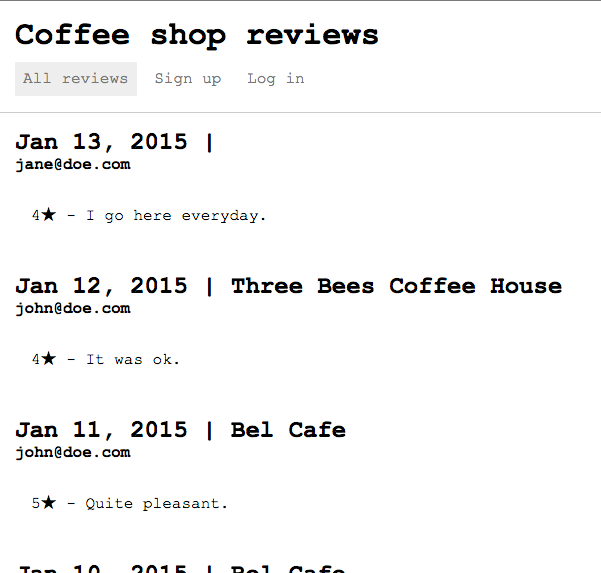
Now load http://0.0.0.0:3000/ in your browser. You’ll see the application home page:
 </figure>
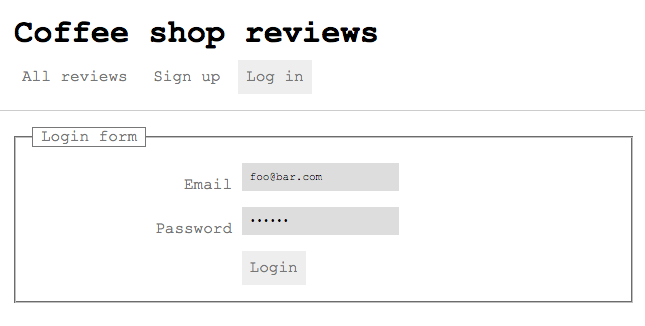
Click on Log in. You’ll see the login page:
 </figure>
Click Login to login with the provided email and password. Notice if you change the email or password, you can’t login (but the app doesn’t display an error – that’s left as an exercise for the reader).
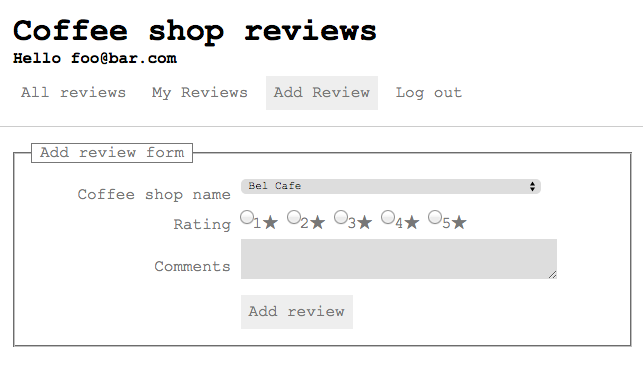
After logging in, you’ll see the “Add review” page by default:
 </figure>
Click Add Review to create a new review, My Reviews to view only your reviews, or All Reviews to view all reviews again. You can only review the three predefined coffee shops; the application does not provide the ability to add a new coffee shop as an administrator yet.
Create your own app
To understand all the features of the Coffee Shop Reviews app, you’re going to recreate it from scratch. The starting point is the app you created in Getting started with LoopBack.
So, if you followed that tutorial, simply change to that directory:
$ cd <my-getting-started-app>
If you didn’t follow that tutorial, you can just clone the repository:
$ git clone https://github.com/strongloop/loopback-getting-started.git
$ cd loopback-getting-started
Next: Continue to Create new data source to add a new data source that the application will use.