This is a basic guide for deploying a LoopBack 4 (LB4) app to IBM Cloud. In the setup explained below, your app will use a provisioned Cloudant service when running on the IBM Cloud.
NOTE: Production deployment to IBM Cloud is a much bigger topic with many possible options, refer to “IBM Cloud Continuous Delivery: Build, deploy, and manage apps with toolchains” for the details.
Before we begin
Make sure you have:
- an account on IBM Cloud. If not, you can sign up here.
- installed Cloud Foundry CLI
Preparing your application
We will be using the “todo” example from the loopback-next repository as a basis for the instruction.
You can quickly clone the “todo” example app by running the command:
lb4 example todo
Then you can replace the default memory-based connector of the app with a Cloudant connector, so data is persisted.
Step 1: Provisioning a Cloudant database service
- Go to the
IBM Cloud Catalog, select
CloudantunderAll Categories>Databases. -
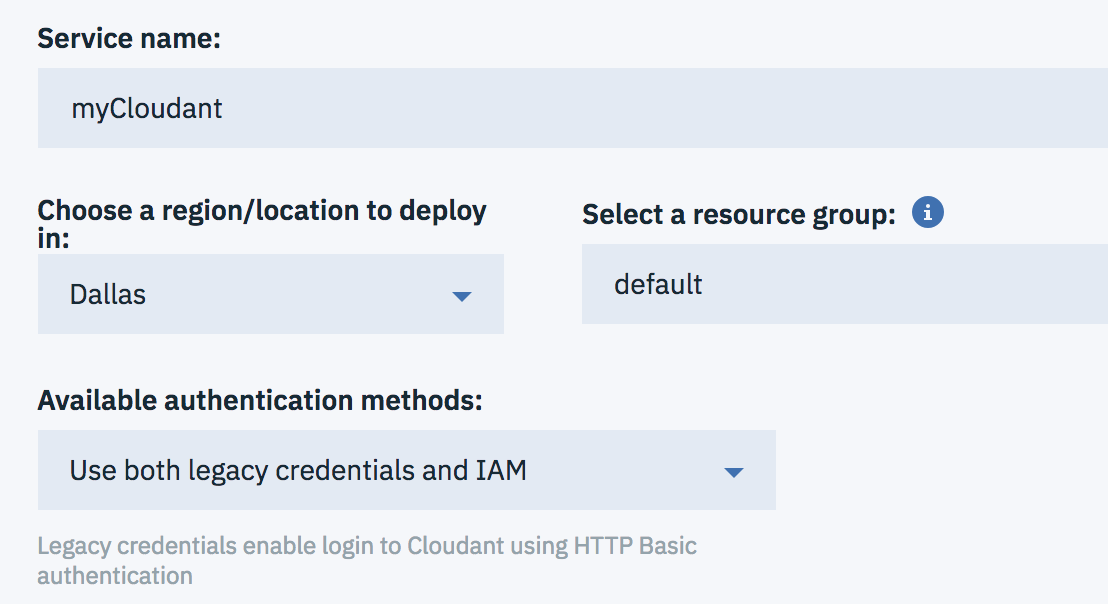
Name your Cloudant service name as
myCloudant. Keep the defaults for region and resource group. Select “Use both legacy credentials and IAM” as the available authentication methods
- Click Create.
Step 2: Creating a database named todo.
- Go to your IBM Cloud dashboard.
- Click on
myCloudantunderServices. -
Click
Launch Cloudant Dashboard.
-
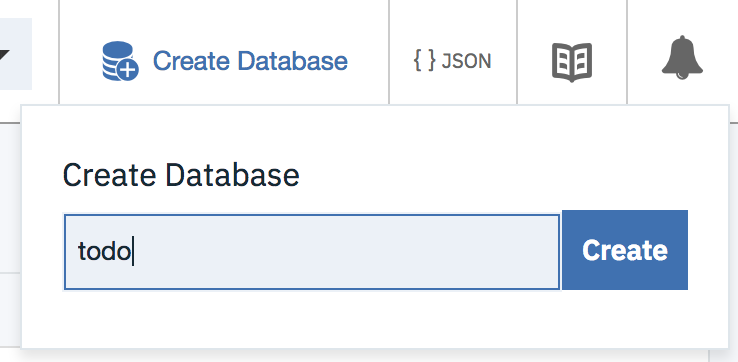
In the Cloudant dashboard, click
Create Databaseat the top of the page and name it astodo.
Step 3: Updating your DataSource
Update db.datasource.ts to use the Cloudant connector. The value for the url
property is just a placeholder and does not need to have the correct credential
because we will be binding the app with the Cloudant service once it’s pushed to
IBM Cloud.
const config = {
  name: 'db',
  connector: 'cloudant',
  url: 'http://admin:pass@localhost:8080',
  database: 'todo',
  modelIndex: '',
};
Install the loopback-connector-cloudant package.
$ npm i loopback-connector-cloudant
Step 4: Updating the application
-
We will use the
cfenvmodule to simplify some of the Cloud Foundry related operations. Installcfenvin the project directory.$ npm i cfenv -
Update the
src/index.tsfile to the following to enable service binding. Add the 3 snippets as indicated below:import {TodoListApplication} from './application'; import {ApplicationConfig} from '@loopback/core'; // --------- ADD THIS SNIPPET --------- import {DbDataSource} from './datasources/db.datasource'; const cfenv = require('cfenv'); const appEnv = cfenv.getAppEnv(); // --------- ADD THIS SNIPPET --------- export async function main(options?: ApplicationConfig) { // --------- ADD THIS SNIPPET --------- // Set the port assigned for the app if (!options) options = {}; if (!options.rest) options.rest = {}; options.rest.port = appEnv.isLocal ? options.rest.port : appEnv.port; options.rest.host = appEnv.isLocal ? options.rest.host : appEnv.host; // --------- ADD THIS SNIPPET --------- const app = new TodoListApplication(options); // --------- ADD THIS SNIPPET --------- // If running on IBM Cloud, we get the Cloudant service details from VCAP_SERVICES if (!appEnv.isLocal) { // 'myCloudant' is the name of the provisioned Cloudant service const dbConfig = Object.assign({}, DbDataSource.defaultConfig, { url: appEnv.getServiceURL('myCloudant'), }); app.bind('datasources.config.db').to(dbConfig); } // --------- ADD THIS SNIPPET --------- await app.boot(); await app.start(); const url = app.restServer.url; console.log(`Server is running at ${url}`); return app; } -
Remove the
prestartscript frompackage.json, since we don’t want to do any building on the cloud.
Note:
If you make more changes to the application after this point, remember to run npm run build to transpile the code before deploying.
-
(Optional) At project root, create a file called
.cfignorewith the following content:node_modules/ .vscode/ .gitThis step is optional, however, dependencies will be installed during deployment and thus
node_moduleswill be generated. It makes the upload ofnode_modulesreductant and time consuming.
Step 5: Deploying the application to IBM Cloud
-
Use
cf logincommand to login.If you’re using a federated user id, you can use the
--ssooption.After you’ve been successfully logged in, you’ll see the CF API endpoint.
API endpoint: https://api.ng.bluemix.net (API version: 2.106.0) -
After logging in, you can run this command:
cf push <<your-app-name>>The app name in the command is the Cloud Foundry application that will show up in the IBM Cloud dashboard.
Step 6: Binding the Cloudant service to your application
- Go to the IBM Cloud dashboard (https://cloud.ibm.com/dashboard/apps).
- Under
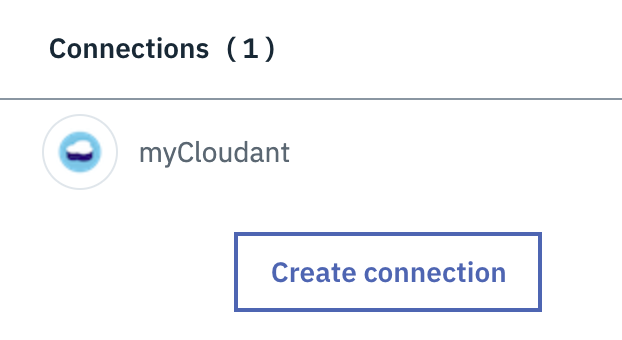
Cloud Foundry Applications, you should see your application name. Click on it. - In the “Overview” tab, go to
Connections>Create connection. - Select
myCloudantservice. - After the binding is done, you should see it from the
Overviewpage.
- You will be asked to restart your application.
Step 7: Testing your endpoints
- Go to your application page. If you’re not already in there, it can be found
under
Cloud Foundry Appsin the IBM Cloud dashboard. - Click
Visit App URLto get the URL of your application. It will then bring you to the API explorer for testing your endpoints.